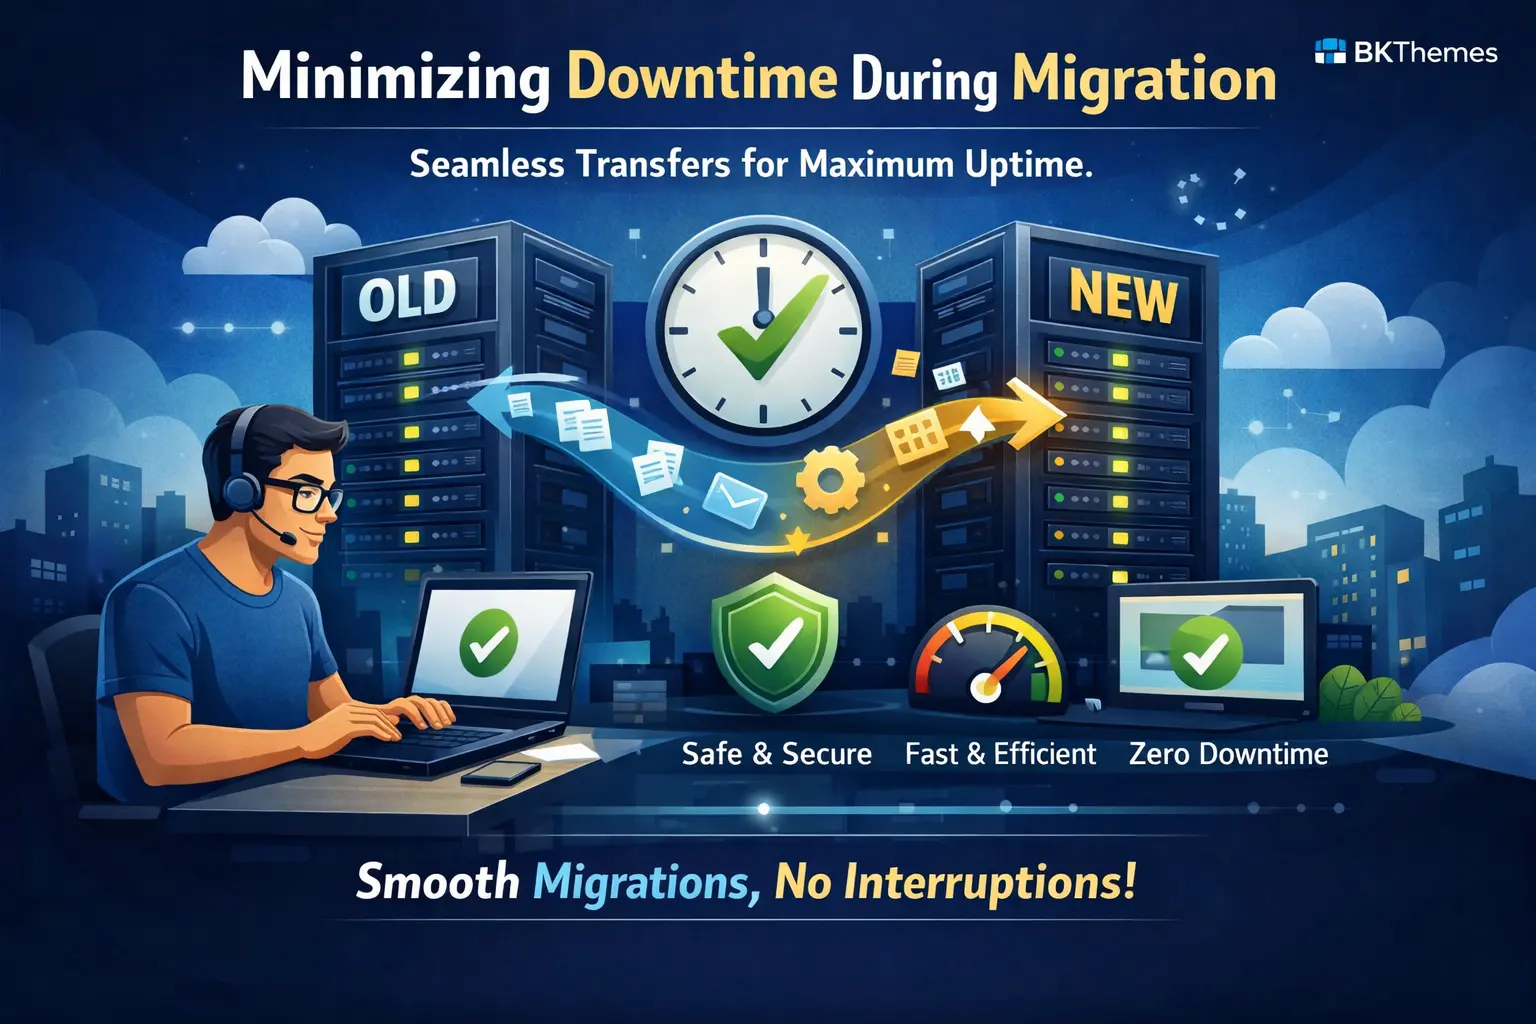
Execute WordPress and Shopify migrations with zero interruption using tested rollback strategies.
Learn to migrate your site with zero downtime and a 5-minute rollback plan ready if anything fails. This tutorial covers prerequisites, timing strategies, and the exact steps to keep visitors and revenue flowing.
TL;DR
- Lower DNS TTL to 300 seconds 48 hours before migration - This enables 5-minute rollback if anything fails, versus waiting hours for DNS changes to propagate.
- Pre-sync data to minimize your actual downtime window - Transfer 95% of files and database before final migration, reducing the critical window to minutes instead of hours.
- Keep your old server running for 72+ hours post-migration - This is your rollback plan. If critical issues emerge, change the DNS back, and you will be live within 5 minutes.
- Test everything on the new server before switching DNS - Edit your local hosts file to access the new server directly. Verify forms, checkout, login, and key functions work before any traffic hits the new site.
- Document and compare performance benchmarks - Run speed tests before and after migration. Performance should match or improve. If it drops, check caching configuration and server specs.
Marketing with execution
Need digital marketing support that connects strategy to actual implementation?
This post is in Digital Marketing, so here’s the most relevant next step if you want help applying it.
We help businesses align content, SEO, user experience, and technical execution so marketing efforts lead somewhere useful.
- SEO-backed content and organic growth planning
- Website improvements that support lead generation
- Practical support for small business and agency growth
What You Will Achieve
By the end of this tutorial, you will execute a WordPress or Shopify site migration with zero or near-zero downtime. You will have a tested rollback plan ready to deploy in under 5 minutes if anything fails.
Your success criteria: visitors experience no interruption, search rankings remain stable, and all transactional functions (forms, checkout, emails) work immediately post-migration. 57% of SMBs report that an hour of downtime costs up to $100,000. This tutorial helps you avoid becoming that statistic.
Prerequisites and Setup Checklist
Before starting, confirm you have these items ready. Missing any single item can cause delays or failures during migration.
- Full site backup completed within the last 24 hours (database + files)
- Access credentials for both source and destination hosting accounts
- SSH access to both servers (required for WP-CLI and rsync methods)
- DNS control panel access with the ability to modify A records and TTL values
- SSL certificate ready for the new server (Let's Encrypt or purchased certificate)
- Staging environment on the destination server for pre-launch testing
- Migration plugin installed if not using command-line tools (All-in-One WP Migration, Duplicator Pro, or WP Migrate)
Time estimate: 2 to 4 hours for a standard site. Large WooCommerce stores with 10,000+ products may require 6 to 8 hours. Schedule migrations during your lowest-traffic period, typically Tuesday through Thursday between 2 AM and 6 AM in your primary customer timezone.
Why This Approach Works
Most migration failures happen because site owners treat migration as a single event rather than a phased process. The "flip the switch" approach creates a window where anything can go wrong with no recovery path.
This tutorial uses a parallel-run strategy. Your old site stays live while you build and test the new environment completely. Only after verification do you redirect traffic. If problems emerge, you redirect back instantly.
Organizations average 86 outages annually, with 93% of executives worried about downtime's impact. Your migration does not need to add to that number.
Step 1: Lower Your DNS TTL Values 48 Hours Before Migration
Log in to your DNS control panel (Cloudflare, GoDaddy, Namecheap, or your registrar). Locate your A record pointing to your current server IP address.
Action: Change the TTL (Time To Live) value from the default (often 14400 seconds or 4 hours) to 300 seconds (5 minutes). Save the changes.
Expected result: When you check your DNS settings, the TTL column shows 300 or "5 min." This change takes up to 48 hours to propagate globally, which is why you do this first.
Why this matters: Lower TTL means DNS changes propagate faster. If you need to execute your rollback plan, traffic redirects to your original server within 5 minutes instead of 4 hours.
Common failure: TTL still shows the old value after saving. Fix: Clear your browser cache and refresh. Some control panels require you to click "Save" and then "Apply" or "Deploy" as separate actions.
Step 2: Create a Complete Backup and Verify It Works
A backup you have not tested is not a backup. It is a hope.
For WordPress using WP-CLI:
wp db export backup-$(date +%Y%m%d).sql --path=/var/www/yoursite
tar -czvf site-backup-$(date +%Y%m%d).tar.gz /var/www/yoursite
For WordPress, use a plugin: Install Duplicator Pro or All-in-One WP Migration. Create a full package including database, plugins, themes, and uploads. Download the package to your local computer.
Verification step: Restore this backup to a test environment (local development machine or subdomain). Confirm the site loads, you can log in, and key functions work. This step catches corrupted backups before you need them.
Expected result: You have two copies of your backup: one on the server and one downloaded locally. You have confirmed the backup restores successfully.
Common failure: Backup file is incomplete or corrupted. Fix: Check available disk space on your server. WordPress needs at least 2x your site size in free space to create a backup. Run df -h via SSH to verify.
Step 3: Set Up the Destination Environment Before Touching Your Live Site
Your new server should be fully configured and tested before any migration begins. This is where most small business owners skip steps and create problems.
Server configuration checklist:
- PHP version matches source server (check with
php -v) - Required PHP extensions installed (check your theme/plugin requirements)
- MySQL/MariaDB version compatible with your database
- Memory limits set appropriately (minimum 256MB for WordPress, 512MB for WooCommerce)
- SSL certificate installed and tested
Action: Access your new server via SSH. Run these commands to verify the configuration:
php -v
php -m | grep -E 'curl|gd|mbstring|mysqli|xml|zip'
mysql --version
Expected result: PHP version, extensions, and MySQL version match or exceed your source server specifications. For detailed guidance on SSL certificate setup and security configuration, ensure your certificate is properly installed before proceeding.
Common failure: Server environment mismatches cause white screen or plugin errors. Fix: Document exact versions from your source server using phpinfo(); and replicate on the destination.
Step 4: Pre-Sync Your Data to Minimize the Final Migration Window
Large sites should not attempt a single, massive transfer. Instead, pre-sync most data days before the final migration. This reduces your actual downtime window to minutes.
Using rsync for file transfer:
rsync -avz --progress -e ssh /var/www/yoursite/ user@newserver:/var/www/yoursite/
This command copies all files while preserving permissions. The first sync takes the longest. Subsequent syncs only transfer changed files.
For database pre-sync:
wp db export --path=/var/www/yoursite | gzip > presync-db.sql.gz
scp presync-db.sql.gz user@newserver:/var/www/
# On new server:
gunzip presync-db.sql.gz
wp db import presync-db.sql --path=/var/www/yoursite
Expected result: Your destination server contains 95%+ of your site data. The final migration only needs to sync changes made since this pre-sync.
WooCommerce consideration: If orders are coming in during pre-sync, you will have WooCommerce order drift. Plan your final sync during a maintenance window, or use a database merge strategy for the orders table only.
Step 5: Execute Final Sync and Database Migration
This is your actual migration window. For most sites, this step takes 5 to 30 minutes, depending on size and changes since pre-sync.
Action sequence:
- Put the source site in maintenance mode:
wp maintenance-mode activate - Run final rsync:
rsync -avz --delete -e ssh /var/www/yoursite/ user@newserver:/var/www/yoursite/ - Export final database:
wp db export final-migration.sql - Transfer and import to the new server
- Update wp-config.php on the new server with the correct database credentials
- Run search-replace for URLs:
wp search-replace 'oldsite.com' 'newsite.com' --all-tables
Expected result: New server contains identical site data. You can access the site via direct IP or host file modification.
Verification before DNS switch: Edit your local hosts file to point your domain to the new server IP. Test thoroughly. Check forms, checkout, login, and key pages.
Common failure: Mixed content warnings or broken images after migration. Fix: The search-replace command missed some URLs. Run it again with --precise flag, or use the Better Search Replace plugin to catch serialized data.
Step 6: Update DNS and Monitor Propagation
With your new site verified, update DNS to point to the new server.
Action: In your DNS control panel, change the A record IP address to your new server. Save and deploy changes.
Monitor propagation: Use DNS Checker to watch global propagation. With TTL set to 300 seconds, most users should see the new site within 5 to 15 minutes.
Keep your old server running: Do not shut down or delete anything on your source server for at least 72 hours. This is your rollback plan in action. If problems emerge, you can revert DNS and be back online instantly.
Expected result: DNS Checker shows your new IP propagating across global DNS servers. Traffic begins flowing to the new server.
Common failure: DNS propagation issues cause some users to see the old site, while others see the new site. Fix: This is normal during propagation. Both sites should be functional during this window, which is why you kept the old server running.
Step 7: Post-Migration Verification and Performance Testing
Migration complete does not mean migration successful. You need to verify everything works and performance meets or exceeds pre-migration benchmarks.
Functional testing checklist:
- Homepage loads correctly
- All menu links work (no 404 errors)
- Contact forms are submitted, and emails arrive
- User login and registration functions
- WooCommerce checkout completes test transaction
- Search functionality returns results
- SSL certificate shows valid (padlock icon, no warnings)
Performance benchmark tests: Run your site through GTmetrix, PageSpeed Insights, and WebPageTest. Compare scores to pre-migration benchmarks. Performance should be equal to or better.
If you experience site performance recovery issues, check for caching conflicts. Your old caching configuration may not work correctly on the new server. Purge all caches and reconfigure.
Expected result: All functions work. Performance scores match or exceed the pre-migration baseline. Transactional email issues are resolved (check SMTP settings if emails fail).
Step 8: Implement Your Rollback Plan (If Needed)
Your rollback plan is simple because you prepared properly. If critical problems emerge that you cannot fix within your acceptable downtime window, execute the rollback.
Rollback procedure:
- Access the DNS control panel
- Change the A record back to the original server IP
- Save and deploy
- Deactivate maintenance mode on the original server:
wp maintenance-mode deactivate
Time to recovery: With TTL at 300 seconds, traffic redirects within 5 to 10 minutes. Your original site is exactly as you left it.
When to rollback: Check out completely broken, site unreachable, or security issues detected. Do not rollback for minor issues you can fix. Rollback for business-critical failures only.
Post-rollback action: Document what failed. Fix the issues in your staging environment. Attempt migration again during your next maintenance window.
Configuration and Customization Options
Every migration has variables you may need to adjust based on your specific situation.
TTL Values
Safe default: 300 seconds (5 minutes). Must change if: Your registrar has a minimum TTL higher than 300. Some enterprise DNS providers default to 3600 (1 hour) minimum.
Maintenance Window Duration
Safe default: 2 hours scheduled, expect 30 minutes actual. Adjust for: Sites over 10GB may need 4 to 6 hour windows. WooCommerce stores with active orders need shorter windows to minimize order drift.
Backup Retention
Safe default: Keep source server and backups for 7 days post-migration. Must change if: You are on limited hosting and need to free resources sooner. Never delete backups until you have confirmed the migration is fully successful.
PHP Memory Limits
Safe default: Match source server exactly. Adjust for: If the source was underpowered, migration is a good time to increase limits. 256MB minimum for WordPress, 512MB for WooCommerce, 1GB for large multisite installations.
Verification and Testing Procedures
Your migration is not complete until you have verified these specific items. Do not skip this section.
SEO Verification
Check Google Search Console for crawl errors within 24 hours of migration. Submit your sitemap if it was not automatically detected. Verify robots.txt is accessible and correct.
Image and Media Verification
Broken images are common post-migration. Check your media library and verify images load on key pages. Image URL structure should remain consistent to preserve any existing image SEO value.
Edge Cases to Test
- Mobile checkout flow (not just desktop)
- Password reset emails are delivered correctly
- Scheduled posts publish at correct times (timezone settings)
- Third-party integrations connect (payment gateways, CRMs, email services)
- CDN is properly serving cached content (if applicable)
Common Errors and Fixes
Error: "Error establishing a database connection."
Symptom: White screen with database connection error message.
Cause: wp-config.php contains the wrong database credentials for the new server.
Fix: SSH into the new server. Edit wp-config.php with correct DB_NAME, DB_USER, DB_PASSWORD, and DB_HOST values for the new environment.
Error: Redirect Loop (ERR_TOO_MANY_REDIRECTS)
Symptom: Browser shows a redirect loop error. The site never loads.
Cause: SSL configuration conflict, often from .htaccess rules or plugin settings conflicting with server-level SSL.
Fix: Access the site via FTP or SSH. Rename .htaccess to .htaccess.backup. If the site loads, the issue is in the .htaccess rules. Regenerate by visiting Settings > Permalinks in WordPress admin.
Error: 404 Errors on All Pages Except Homepage
Symptom: Homepage works, all other pages return 404.
Cause: mod_rewrite not enabled or .htaccess not being read on the new server.
Fix: Enable mod_rewrite: sudo a2enmod rewrite && sudo systemctl restart apache2. Verify AllowOverride is set to All in the Apache configuration for your site directory.
Error: Mixed Content Warnings
Symptom: Padlock shows a warning. The browser console shows mixed content errors.
Cause: Some URLs still reference http:// instead of https://.
Fix: Run search-replace again: wp search-replace 'http://yoursite.com' 'https://yoursite.com' --all-tables --precise
Error: WooCommerce Orders Missing
Symptom: Orders placed during the migration window do not appear on the new site.
Cause: WooCommerce order drift between pre-sync and final sync.
Fix: Export orders from the source site using WooCommerce > Orders > Export. Import to the new site. For future migrations, use shorter maintenance windows or real-time database replication.
Error: Cron Jobs Not Running
Symptom: Scheduled posts not publishing, backups not running, emails not sending.
Cause: WP-Cron depends on site visits, or the server cron is not configured on the new host.
Fix: Set up a real server cron job: */15 * * * * wget -q -O - https://yoursite.com/wp-cron.php?doing_wp_cron >/dev/null 2>&1
Next Steps and Extensions
With your migration complete, consider these follow-on improvements:
Database optimization after migration: Run wp db optimize to clean up database tables. Consider installing WP-Optimize for ongoing maintenance.
Performance baseline: Document your current performance scores. Set up monitoring with UptimeRobot or Pingdom to catch future issues before customers do.
Staging environment: Now that you have experience with parallel environments, maintain a staging site for testing updates before pushing to production.
For larger migration projects or enterprise WordPress migration needs, BKThemes offers migration services with guaranteed uptime SLAs. Our team has completed 1,000+ projects and can handle complex migrations, including multisite networks, high-traffic WooCommerce stores, and custom application integrations.
Frequently Asked Questions
Sources
- https://mev.com/blog/the-cost-of-it-downtime-in-2025-what-smbs-need-to-know
- https://www.cockroachlabs.com/blog/the-state-of-resilience-2025-reveals-the-true-cost-of-downtime/
- https://bkthemes.design/blog/https-security-audits-boost-seo-user-trust/
- https://dnschecker.org
- https://bkthemes.design/blog/top-5-hurdles-website-redesign-your-expert-guide
- https://bkthemes.design/blog/why-your-image-urls-are-quietly-killing-your-rankings
- https://bkthemes.design
📧 Want to Stay Updated?
Get the latest web development tips and insights delivered to your inbox.
🚀 What Services do you Offer?
About the Author

Brian Keary
Founder & Lead Developer
Brian is the founder of BKThemes with over 20 years of experience in web development. He specializes in WordPress, Shopify, and SEO optimization. A proud alumnus of the University of Wisconsin-Green Bay, Brian has been creating exceptional digital solutions since 2003.
Expertise
Writing since 2003